Another square comparison, one where I only did back loop only when it was needed for the design. I think I like it better.


A little bit of everything, figuring it out as I go along. Inspired by my scrappy little rescue cat and scrappy quilts. Making stuff, especially from reclaimed or recycled or inexpensive materials; philosophizing; research. Whatever is passing through my busy little mind.

Another square comparison, one where I only did back loop only when it was needed for the design. I think I like it better.
Here is the same square except that the one has all “back loop only” stitching, creating a pattern of lines behind the bobbles:


The difference is subtle, but real.
Gonna try some of the Stardust patterns with this same change.
We got together with friends last weekend and cooked a big delicious meal together. I was assigned to make the guacamole, which generated a pile of avocado seeds. I kept them for an experiment.
When I was a kid I sprouted several avocado seeds by suspending them in water with toothpicks. Sometimes this resulted in a plant, often it just resulted in a moldy mess. I came across something claiming the seeds will sprout if you just put them in soil and keep it damp. That seemed worth a try.
Since I gather they will take a while to sprout (if they ever do), I didn’t see a need to give them their own pot. I just tucked them amongst other seasonal plants, figuring that by the time the plants are sprouted and ready for transplant, the seasonal stuff will be finished.
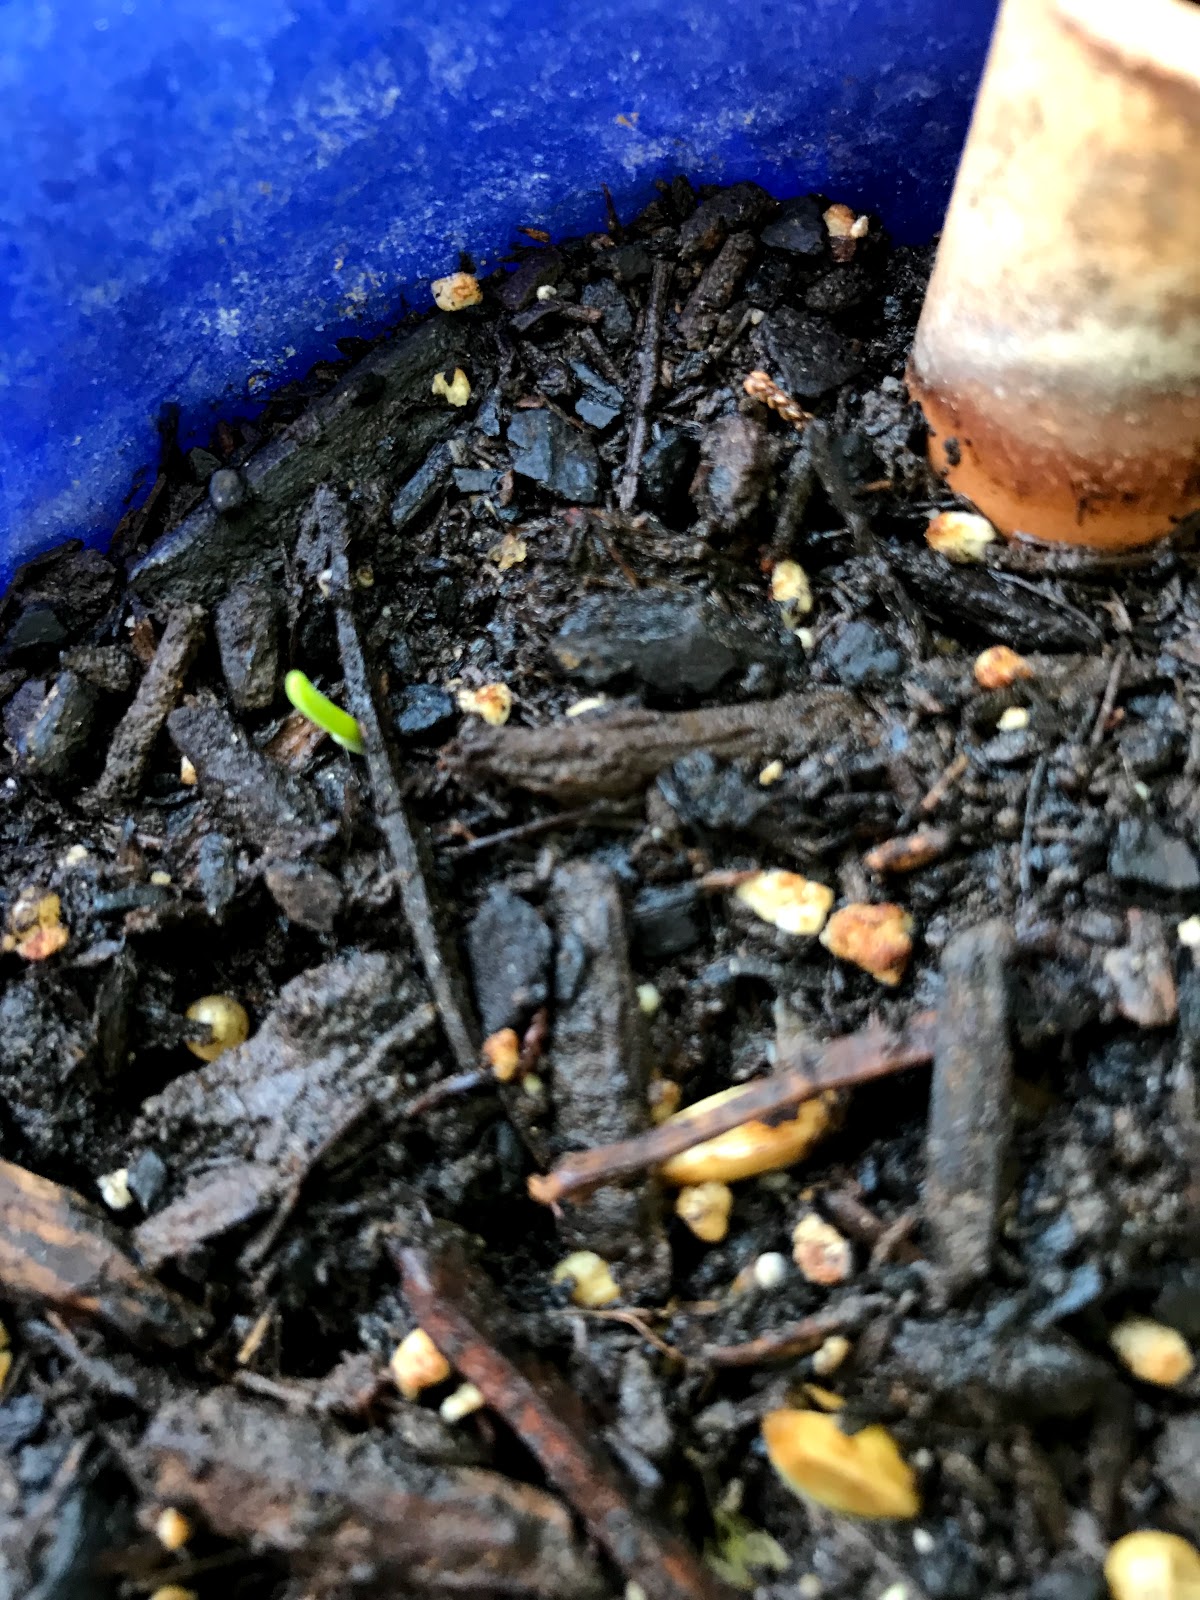
So here is a nice avocado seed amongst some kale. We will see what happens!

Here is the completed square I showed before:

To get this i used the basic structure of the other Stardust Melody squares, which starts with a magic circle and works in the round using single crochets. It makes the corners by doing sc-ch2-sc which expands the square by two stitches per side each row.
The Stardust patterns get their ornamentation by crocheting back loop only, and then ducking back to pick up those front loops with various longer stitches. But it seemed to me that you could do any ornamental stitch as long as it kept things on that single crochet spacing.
The stitch I chose was based on a video I saw on Pinterest but somehow failed to pin, and don’t seem to be able to find a link to now. The little knot-like bumps happen when you draw up a loop just as you would for a sc, and then make a little two-stitch chain off that loop before joining back with the loop on your hook from the preceding sc. Then you follow with another sc. I did this on alternating rows and the result is attractive, hasn’t got excessive holes in it, and is size-compatible with my other squares.
For variety I could do back loop only sc instead or regular, which would have the little knots appear on a sort of chain. Or I could space the knots closer together.
I could also try some of the Stardust patterns where I only do back loop crochet on the stitches that need it, which would give a different background.
On other fronts, we watched a performance of “Anything Goes” done by a local high school theater group past night, at our neighborhood open air theater. They did a remarkable job for a bunch of kids. I hadn’t seen the musical before but was pleasantly surprised at how many of the songs I recognized and liked. The experience was a little marred because the person who sat in front of me had a Very Big Head and was tall and had lots of hair on the big head, so I was constantly having to bob back and forth to see around her to the stage. Not her fault, I suppose.
So I finished the twelfth of the free squares from the “Stardust Melodies” pattern:

My original idea has been to repeat the twelve or maybe buy the additional dozen she is selling. But I find myself wanting instead to play with the theme and make my own designs instead.
So here is an attempt midway through. It’s not as dense as the Stardust patterns but it’s not obviously holey so I think it might do. The little buttons aren’t too visible in the photo, but are pretty noticeable in person:

On other fronts – Bohemian Rhapsody is well worth watching, and tempts one to go to YouTube and watch Queen videos all night!
This is a test post!

I am concluding that I need to find a way to use my phone or iPad to post, because otherwise I just don’t get around to it. I spent my morning today puttering about with my little fledgling balcony garden. I haven’t really given it proper care and attention, but even so I have achieved a few things. I had a few little starts of plants which I planted in some big pots by my front door. Some purple kale, a couple divisions of chives, and a couple shoots of ginger from kitchen leftovers. If these survive, I think they will fill in to make a pretty pot. Doesn’t look like much now, though. Then I went through and shifted a couple things from small pots to my big bin planters – some chives and onions, mostly. Cut back some bok choi that was completely gone to seed, and planted a few bush bean plants in that spot instead. I started some seeds in smaller pots that will sit on my kitchen windowsill. And put a few seeds into various empty spots in the planters. I will wait a bit to buy a few herbs to fill some of the gaps.


I probably had tasted this vegetable mixed into stir fries prior to this, but the first time I remember knowingly trying Bok Choi was one summer visiting my Granddaddy’s house. We came across it at the grocery store, and I mentioned I’d never tried it. My Dad said he liked it, and so Granddaddy said “let’s try some, then!” and threw a couple heads of it in the basket. Granddaddy was prone to buying a lot of anything he liked!
So I remember trying it raw and being very impressed with the mix of sweet, crisp, and mildly spicy. And once I knew what to recognize, I realized I liked it very much cooked into stir fries and such.
I later learned that the spelling is quite variable, which is not surprising as it comes from Asia where the languages don’t tend to use our characters. I’ve seen it spelled Bok/Pak/Pac Choy/Choi.
Food sites describe it as “nutrient rich and low calorie”, which seems valuable.
Plant family: Brassicas (Cool Season Cabbage family)
Cool season – can tolerate light frost, may actually improve flavor. Should be able to do spring and fall crops, though excess cold or heat can trigger early bolting.
Plants want moderate to full sun (6+hours per day) though part-shade may help prevent bolting in hot conditions.
Can be successfully grown in a hydroponic setup.
Wants rich soil (leafy plants want nitrogen) with very good drainage to prevent the fleshy stalks from rotting.
Plant seeds ¼ to ½ inch deep, thin to 7” or more. Seedings predicted to emerge at 10-21 days per seed packet. Per various websites, will germinate quicker than that, and “readily germinate”.
It may also be possible to get new plants by rooting the base of harvested plants (from store or previously harvested one?)
Recommended spacing of 7” or more. Sources recommend anything from 6-12 inches of soil depth with “rich, well-drained” soil. If growing for “baby” bok choi, can use 6-inch diameter pot.
Fertilize soil before planting with balanced fertilizer. If adding additional fertilizer, use nitrogen rich product to promote leaf growth.
Water to keep soil most but not soggy. Try to avoid watering leaves, if possible.
Should be ready for harvest in 45 days. Baby varieties within 30 days.
“Baby” bok choi is harvested when it is 5-6 inches tall.
Pull whole plants or cut outer leaves for cut-and-come-again harvesting. Once it bolts it will become bitter.
Flea beetles
Aphids, mites could be controlled with neem spray
Other cool season greens like lettuce, spinach, arugula, swiss chard, mustard, mesclun mixtures
Other brassicas like radishes, kale, broccoli, cauliflower, broccoli rabe Beets or carrots Herbs: Dill, Mint Flowers for pest control: Nasturtium, Marigolds may help control mites. Tatsoi and Mizuna – two other asian greens, tatsoi is like broccoli raab and mizuna is like mustard.
Bok Choi can be eaten raw in salads and slaws, If cooked the key is to cook quickly to retain texture and crispness. Stir fry alone or with other veggies. Can also roast it – whole heads at once.
https://www.wholefoodsmarket.com/blog/whole-story/enjoy-bok-choy
https://www.epicurious.com/ingredients/how-to-cook-bok-choy-raw-recipes-article
https://www.growveg.com/plants/us-and-canada/how-to-grow-bok-choy/ http://geekgardener.in/2011/06/20/growing-bok-choy-in-containers/ https://homeguides.sfgate.com/plant-baby-bok-choy-container-104840.html https://www.gardeningknowhow.com/edible/vegetables/bok-choy
Kale and Bok Choy and Oat grass for the cats (started day 3, more numerous now)
After three days, I see the first babies in the pot labelled Bok Choi! That’s pretty impressive for seeds that were marked to use before 2014. This is three days after planting, and already there’s signs of pretty high germination rate.
I’ll have to try to transplant them into separate pots, it’ll be interesting to see if they can survive the transplanting process. I’ll wait until they’re at least starting to develop second leaves.
Since it’s quite hot out still, I may move them back a bit on the patio so they’ll get less direct sun.